There has a been a lot of interest lately about home studio setup for streaming and recording videos. In this post I will explain my Twitch streaming setup, and my experience thus far.It’s been less than a year for my journey in streaming on Twitch, and I am still learning and trying things out, so take these posts with this context.
While writing this post, I realised that it’s going to be a long one, so I will break it down into three posts:
1. Hardware (this article)
2. Software
3. Humanware
Laptop
At the beginning of my journey, I streamed from a Surface Pro 4 (Intel Core i7-6650U 2.2 to 3.4 GHz and 16G RAM). This worked fine when I streamed while working on pure Azure tasks that didn’t involve any CPU consumption. But when I started doing local development and compiling code, my frames started dropping and my audience started complaining about the quality of my stream.
So when it was time for my Toolkit Allowance renewal (thanks Telstra Purple!), I decided to bump to the best machine I could afford. I read many confusing opinions on the internet about the role of GPU in a stream, and I couldn’t decide whether to get a good GPU machine or good CPU machine. Since I don’t buy a machine every day, and I had some space to bump the budget in addition to the allowance, I decided to get both, GPU AND CPU :).
Now I stream from a Macbook Pro (32G RAM 2.3 GHz 8-Core Intel Core i9, Radeon Pro Vega 20 4 GB).
The strongest voice I heard on the internet was that you want to concentrate on the CPU, but I will leave this homework for you. Needless to say, I don’t have a problem compiling, streaming, and recording at the same time now.
Microphone
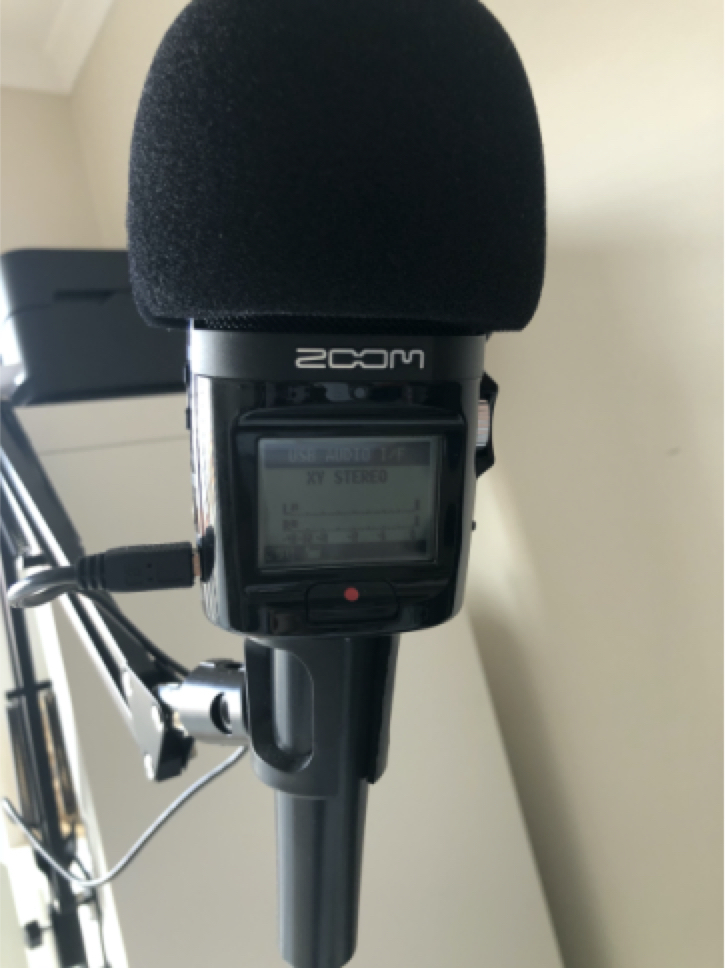
Long before I got into streaming I started a podcast, and for some time I was looking for the right microphone, I needed a microphone that was of good audio quality AND has the functionality of recording in case I was on the go, and I found these in the Zoom H2N. I call this the awesome microphone, but I also believe that this is an overkill for most people who would like to start streaming or producing professional video content.
Microphone Mount
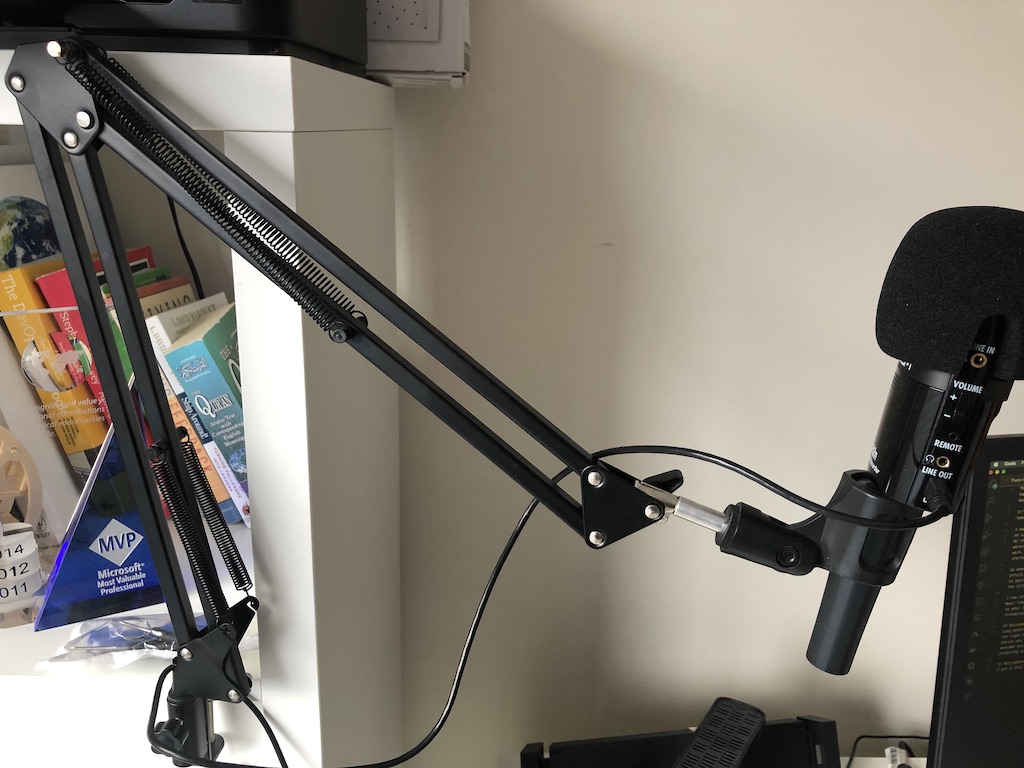
I got an unbranded microphone mount from eBay, you can see from the picture that I am hanging it to the bookshelf next to me, not to my desk; my desk is pretty thick and the base of the mount won’t fit on it. But as a nice outcome hanging it on the bookshelf, the noise coming from the keyboard is barely present.
I put the microphone’s gain to the highest; I stream in the night when the kids are asleep, and I am in a relatively quiet suburb. I position the microphone as close as possible to my face just before appearing in my camera. I am not 100% that the audience doesn’t get any pffff sound due to the high gain, but so far no one has complained :).
Camera

I have the Logitech C920, it’s pretty very common amongst streamers and for a very good reason. It’s very well balanced between prices and features, I love the angle it takes, the quality of the picture, and the auto-focus. Having said that, the only way I am using it to record my face; I don’t do close up reviews to products and I don’t need to move it off the top of my screen.
Keyboard

Late 2018 I bought one of the early models of Vortex Race 3 with Silver switch. This is absolutely not necessary for a successful stream, but mechanical keyboards are just luxurious nice feeling :D.
I kinda regret the Silver switch as I tend to make too many mistakes while touch typing. If time goes back I would get a Red switch instead.
USB Hub(s)
I would have loved to get a proper docking station, but the decent ones are expensive AND they don’t support my old VGA monitors, so I went with the hubs option instead.
Five Ports UGREEN USB-C hub
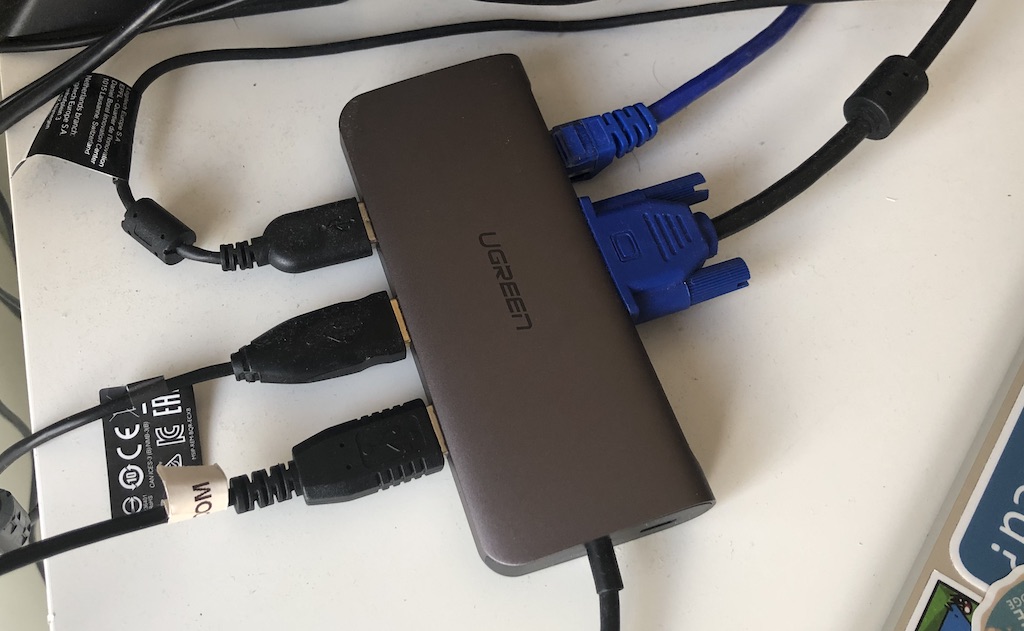
It’s funny that the hub is too old now that I couldn’t find it on their website 😀 to link it in this post, here is a picture for it.
This hub takes:
- One of the monitors
- an Ethernet cable (a must for streaming in my opinion)
- The microphone
- The mouse
- The camera
Generic USB-C VGA adapter
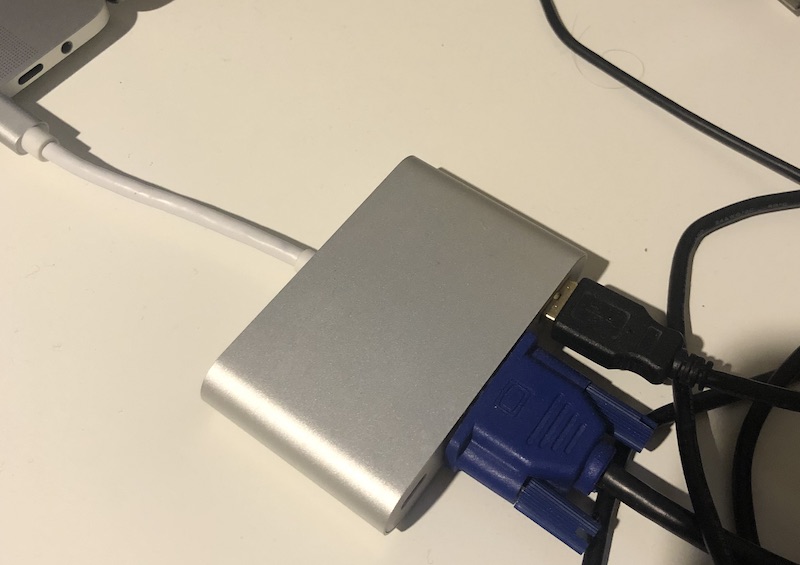
With extra USB-A peripheral to take my keyboard and the other monitor.
key-chain USB-A to USB-C adapter
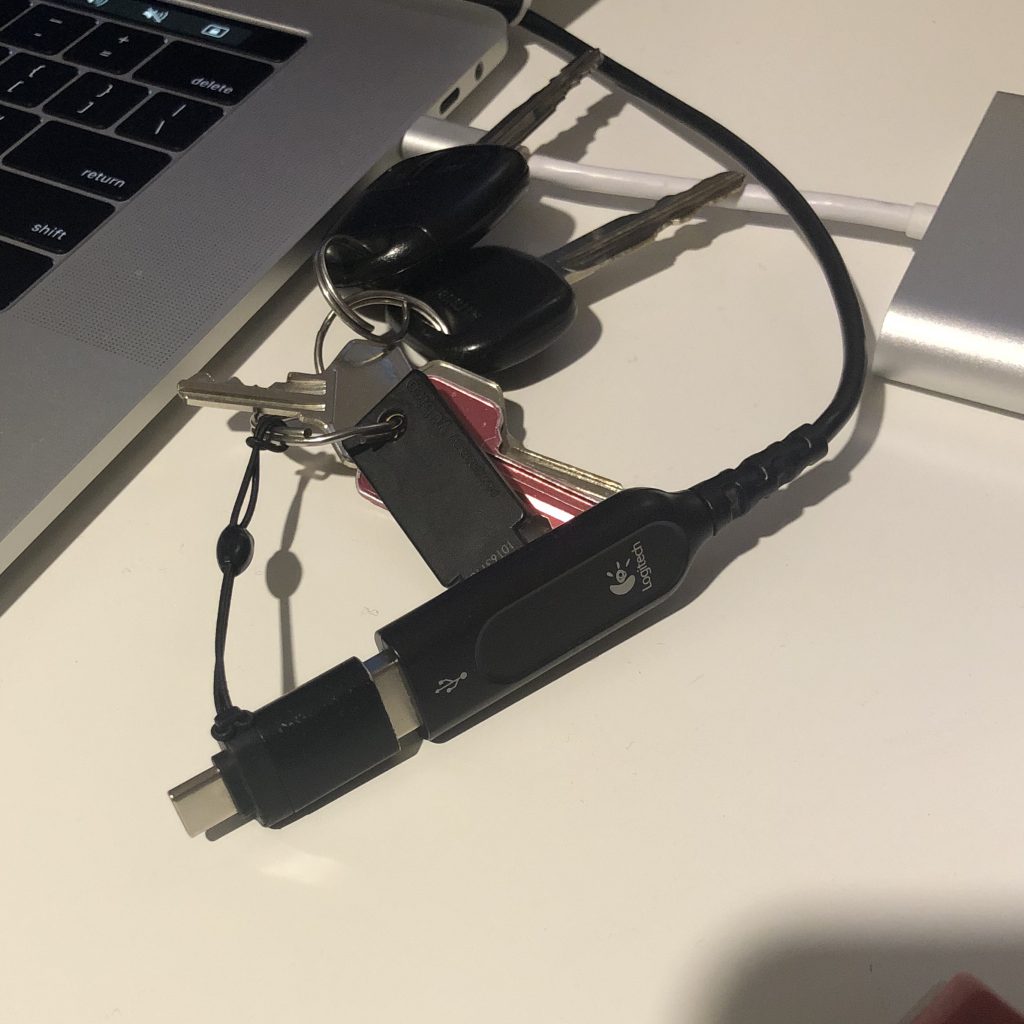
I use this adapter to connect my USB Logitech headset. I don’t use this headset’s microphone, only the headphone. Having said that, I don’t really play any music or crazy sounds during the stream, so I don’t put the headset on my head most of the time.
Studio Setup
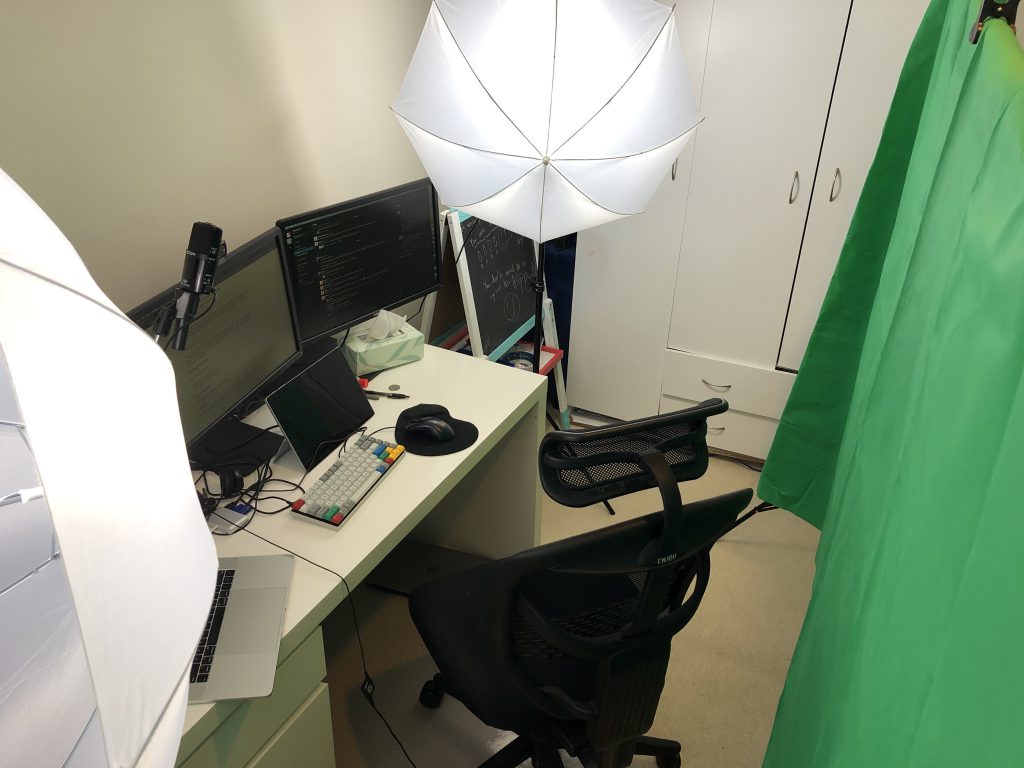
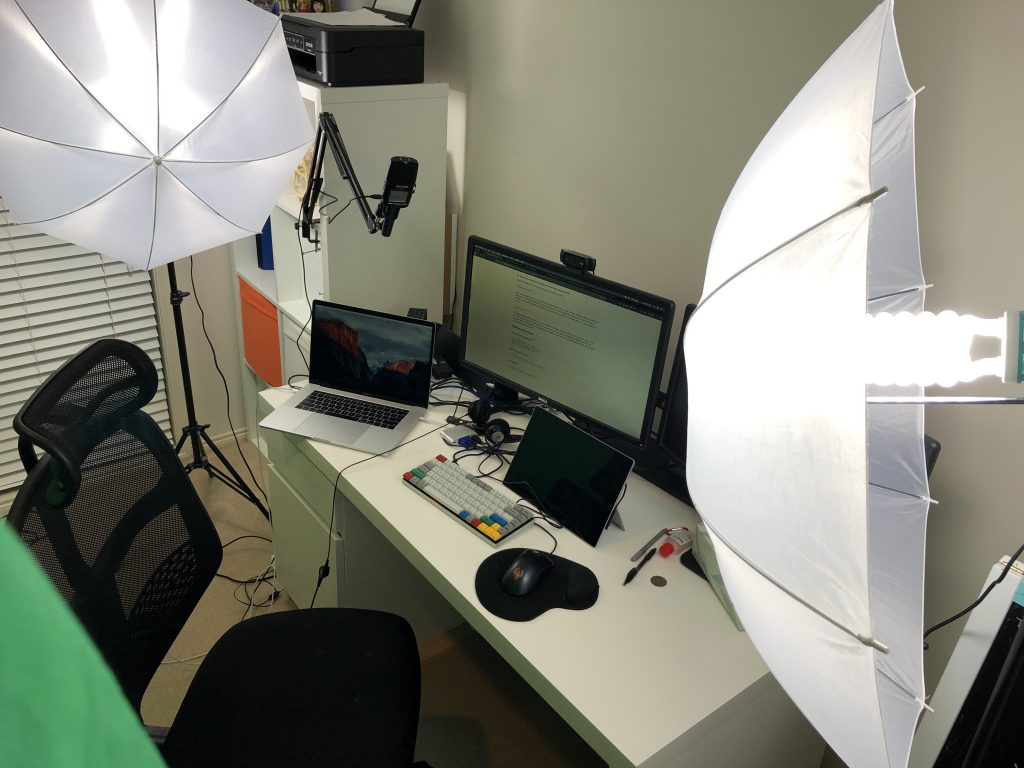
I was lucky enough to find a relatively cheap studio setup on eBay. In preparation for this post I searched for the item on eBay and it seems the price has gone up :).
The bundle had:
- Green, White, and Black backdrops. The material is very poor, I am not sure what it is called, but I tried to iron it once and it almost melted. It works 99% of the time, but I noticed recently that the wrinkles confused my chroma key, and I wouldn’t get a perfect removal. The good thing is that it’s not too noticeable, and most of the time during my stream the focus is on the code scene.
- Big stand to hold the green backdrop, it consists of two extensible mounts and a 4-pieces rod to sit across them. Then you put the green backdrop on it and tighten it with clippers came with the bundle (a little bit of a hassle really).
- Two mounts to hold the lights bulbs
- Two 135W 5500K light bulbs
- Two white umbrellas
- And some accessories I don’t use (two black umbrellas and reflectors)
If time goes back, I would have changed the tools a little:
- I would get the new shiny LED lighting that can be mounted to the desk behind the screens. There are many lighting setups like this but I think the newest one out there is the Elgato Key Light (Update: I have received mixed feedback about the quality of the Elgato Key Light, so this is NOT a recommendation. Please do your homework and assess before buying). The lightning itself is not a problem, but setting the lightning every time is just too tedious.
- I would get an easy-setup green screen, also Elgato has a collapsible green screen that can be easily setup/taken off. For the same reason, setting this thing up and tearing it down just takes an uncomfortable time. In addition to the wrinkles problem above.
Surface Pro 4 (Not necessary)
Sometimes during my stream, I’d like to explain something on a whiteboard, and using the mouse for that isn’t really natural. So I thought I can use my old Surface Pro 4 laptop. I tried at the beginning to use NDI to stream from two laptops, but it just wouldn’t work.
So instead I used the Microsoft Whiteboard app: I use my SP4 to draw on the whiteboard, and then connect to the same whiteboard from my Mac. There can be a small delay between drawing and appearing on the screen, but it wasn’t that much. However, this setup is a little tedious and I am thinking of alternatives.
Summary
So this is my Twitch streaming setup. It’s worth mentioning that I didn’t get all of this setup at once, I accumulated it over time. I had the microphone first, then the camera, then the green screen and lightning…etc, and this was over many months.
You can also slice the budget even more if you choose lower end microphone, and a normal keyboard.
I hope this was beneficial, if you have any questions please let me know in the comments, or ping me on Twitter at @emadashi, would love to hear from you. Stay tuned for the two coming sections: Software and Humanware.
qqvonb
2ftxrj
ko2pzx
vsify3
tv0rbw
3zwwqp
xhg0ws
lt6gwn
5adzea
3u30bo
cc61vt
ef6h03
rqcoos
spy8xv
52exoa
4hg3p4
u0lxe6
b1hdtm
b8atz1
pq6wnw
yz2b7y